
-
-
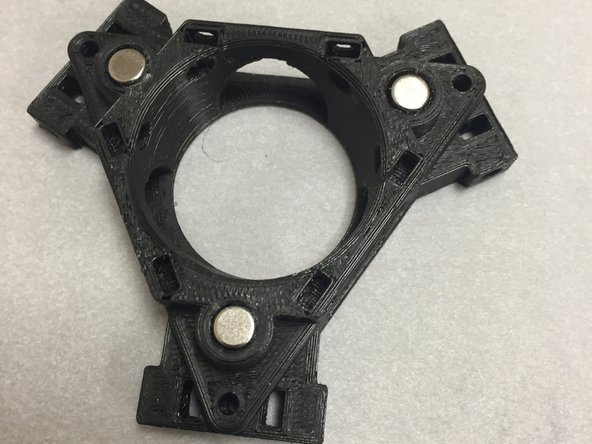
Use cyanoacrylate glue or 2-part epoxy if they they're too loose to press-fit.
-
NOTE: Polarity of the magnets doesn't matter. Line them up in the same direction if you're OCD or anal retentive.
-
-
-
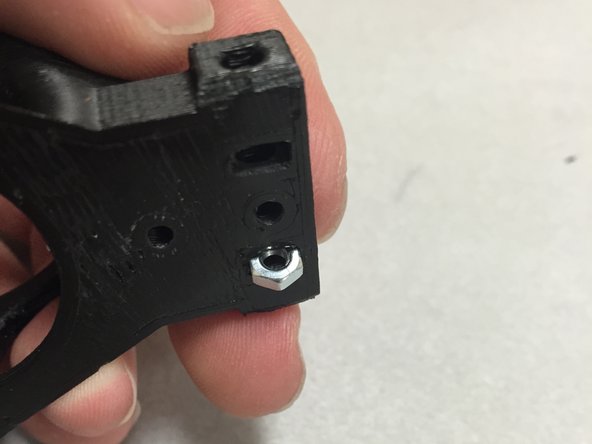
Do these one at a time. Otherwise the others may fall out. Insert the first M3 nut and then move onto the next step.
-
-
-
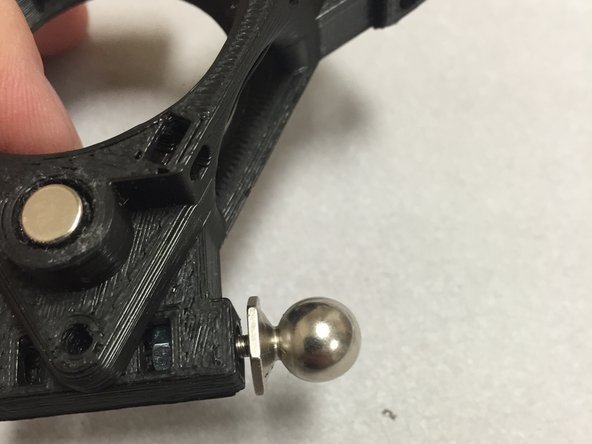
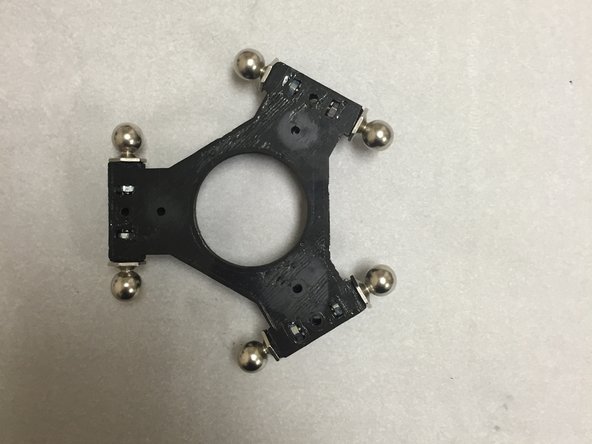
Insert the ball-studs into the ATC hub. Screw them down until they are tight, but not so much where the plastic deforms.
-
-
-
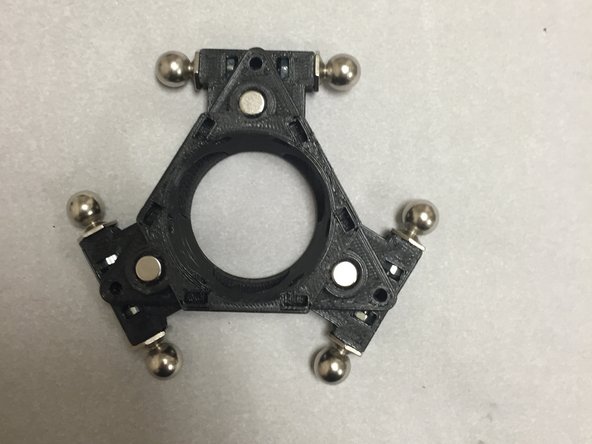
Do this step five more times, so that all six ball-studs look like the picture.
-
-
-
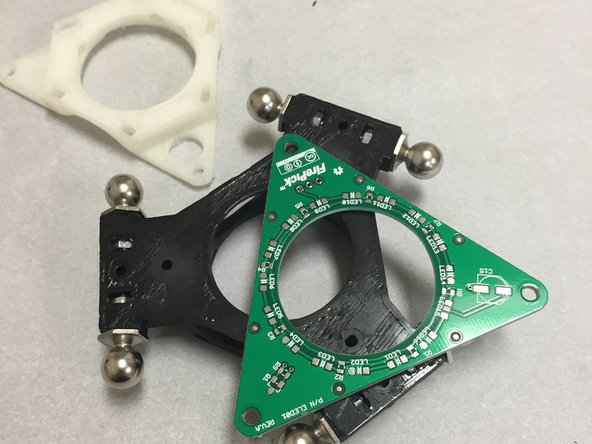
Locate the ELED01 ring light PCB and place it on the 3DAT0011a ATC hub.
-
NOTE: We intended the ELED01 PCB to be an SMT practice kit. If you're building your machine for the first time, it is recommended to just assemble the camera with the blank PCB. You can always remove it later and use the SMT capability of the FirePick Delta to assemble the PCB, after you've commisioned the machine.
-
Note that the 3-pin connector will protrude from the bottom of the PCB when the board is assembled. Remove some material from the 3-d printed base to allow the PCB to sit flush.
-
-
-
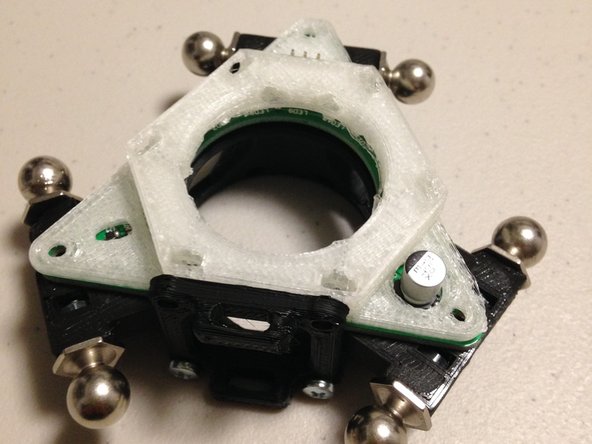
Install the 3DAT0011a ATC hub diffuser, over the LED ring light. Use three M3 x 20mm pan-head screws, and three M3 nuts to hold the diffuser to the assembly.
-
Note that it's not 100% necessary at this point to have the ring light board built and installed. The down-looking LED ring light board was provided in kit form to be used as a PnP SMT practice kit. Therefore, it's OK if you don't have it installed at this point,
-
-
-
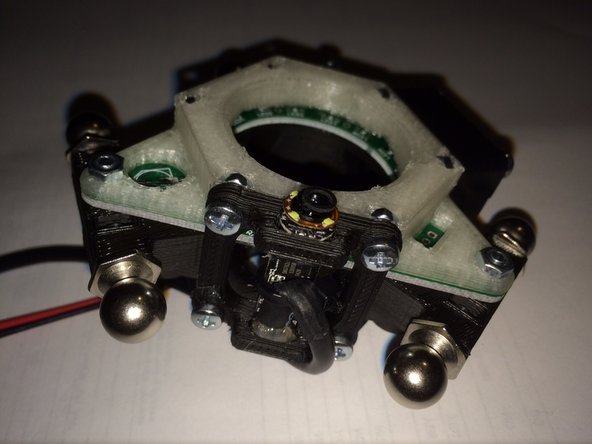
Attach the camera module to the end effector.
-
NOTE: The camera should be complete per the Camera Module Assembly Guide, before attaching it in this step.
-
Insert 4x M3 nuts on one of the three sides of the end effector. Two will go in the diffuser, and two into the black 3D printed housing.
-
Use 4x M3 x 8mm pan-head machine screws to attach the camera module to the side of the end effector.
-
Note that the camera will be oriented to the FRONT of the machine.
-
-
-
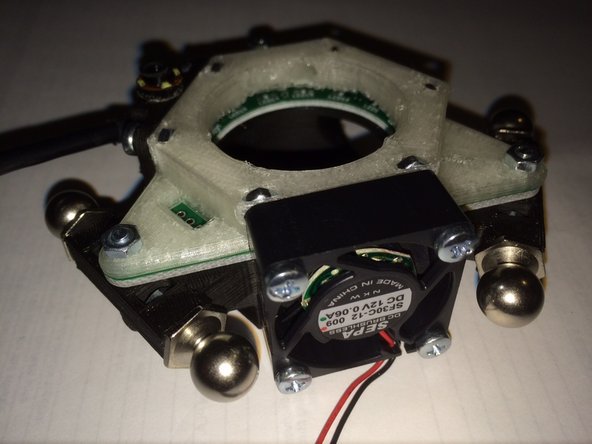
Attach the fan module to the end effector.
-
Insert 4x M3 nuts on one of the three sides of the end effector. Two will go in the diffuser, and two into the black 3D printed housing.
-
Use 4x M3 x 16mm pan-head machine screws to attach the fan to the end effector. May not be in kit.
-
Orient the fan so that the wires exit the fan on the bottom part of the end effector.
-


Cancel: I did not complete this guide.
8 other people completed this guide.
