
Introduction
Inventory your parts first and organize everything before you begin.
Tools
Parts
-
-
Lay out all of the pieces on a work table and use the packing list to ensure that all pieces are present and accounted for.
-
-
-
Use the exploded diagram as a reference while following the steps in this guide.
-
Please use PDF linked above, not the thumbnail shown by Dozuki.
-
-
-
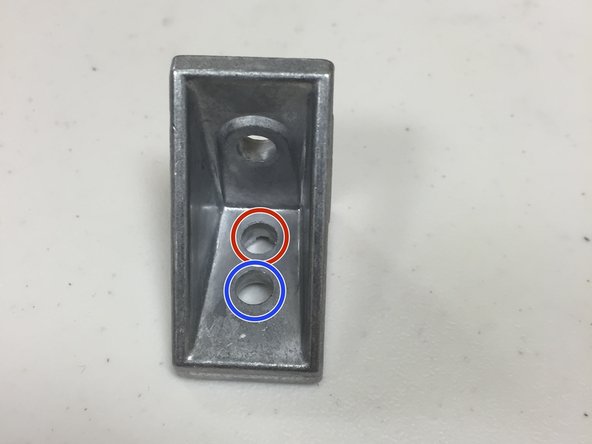
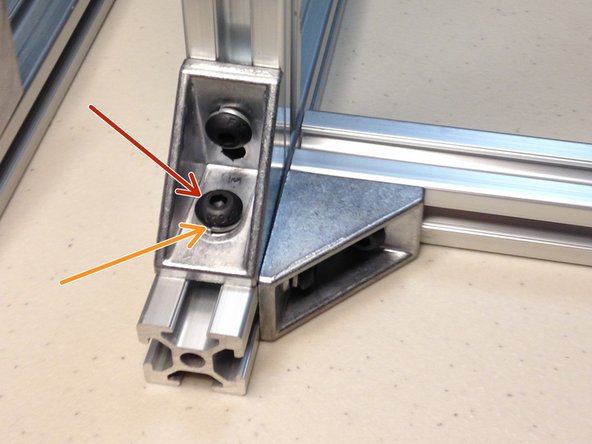
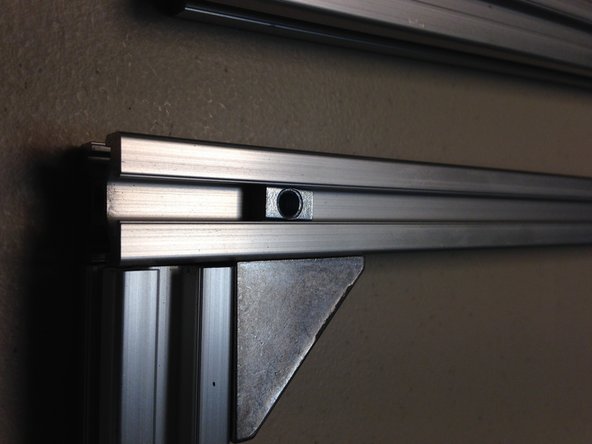
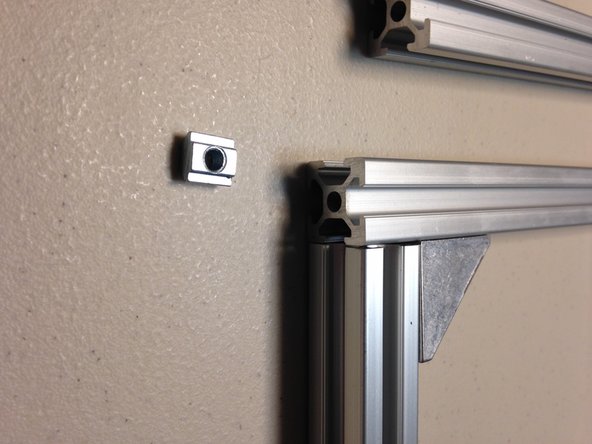
The corner brackets included in the kits have two holes on of the sides.
-
Use the hole shown in BLUE in the picture, throughout this build.
-
Do not use the holes shown in RED. The T-nuts will not lock properly, because of the little nubs on the other side of the hole.
-
-
-
Use the diagonal corner brackets and place them at the eight corners of the machine, as per the exploded diagram.
-
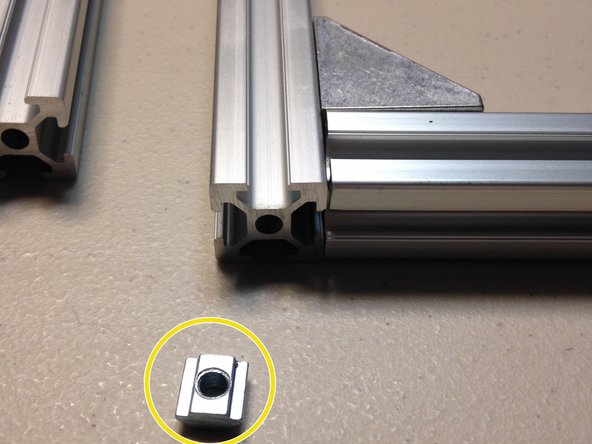
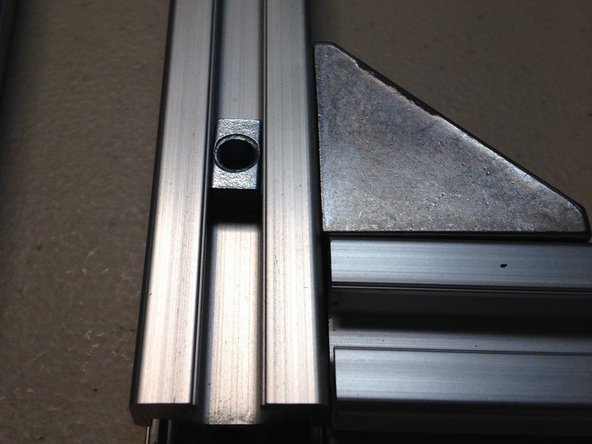
Insert the M5 extrusion nuts as follows:
-
32x for the diagonal braces to the extrusions. Two per bracket times 16 brackets.
-
12x for the PC01 top acrylic plate. These go on the top horizontal extrusions, in the top slots.
-
8x for the heated bed corner brackets (in the bed plate hardware bag). These go on the bottom horizontal extrusions, on the top t-slot.
-
2x for the up-looking camera module (in the up-looking cam hardware bag). These go on the bottom horizontal extrusions, on the top t-slot, on the front side.
-
1x for the SMT module's vacuum pump mount (in the SMT modular tool hardware bag). This nut goes in the top horizontal extrusion, on the back side, back-facing t-slot.
-
1x for the 3D printer module's Wade extruder mount (in the 3D printing modular tool hardware bag). This nut goes in the top horizontal extrusion, on the back side, back-facing t-slot.
-
-
-
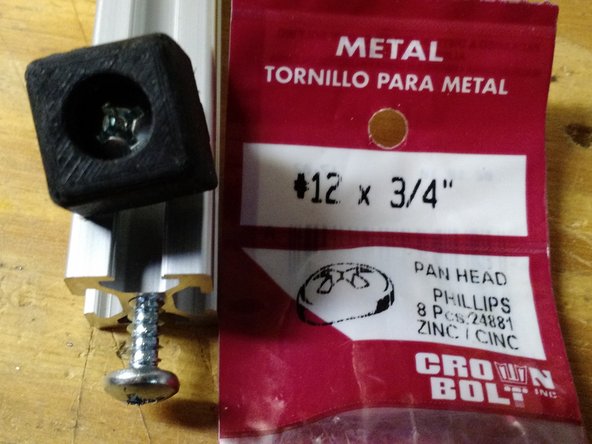
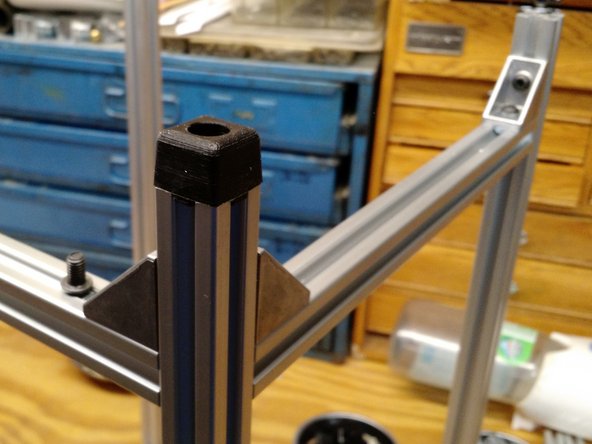
Screw the feet into the vertical extrusions.
-
Use #12 x 1/2" pan-head sheet metal screws, or #12 (Note that these were not included in the original kit; These can be purchased locally, or contact us at hello@tinwhiskers.io and we'll mail you a set)
-
#12 x 1/2" pan-head machine screws work as well, however the bottoms of the extrusion will have to be tapped for a #12-24 thread.
-
Another alternative method of attaching the feet is to use the included M5 button-head cap screws, and use 2-part epoxy to hold them into the vertical extrusion hole. Note that the extrusion hole is too wide to allow for an M5 thread to be tapped.
-
-
-
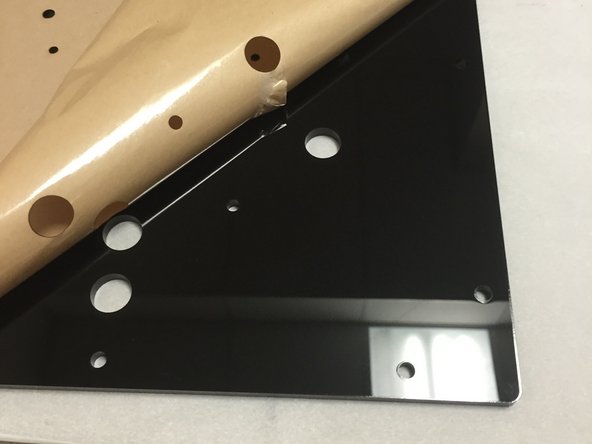
Peel off the protective brown adhesive coating on the acrylic piece(s).
-
When removed, the surface should be piano black (not dull brown).
-
-
-
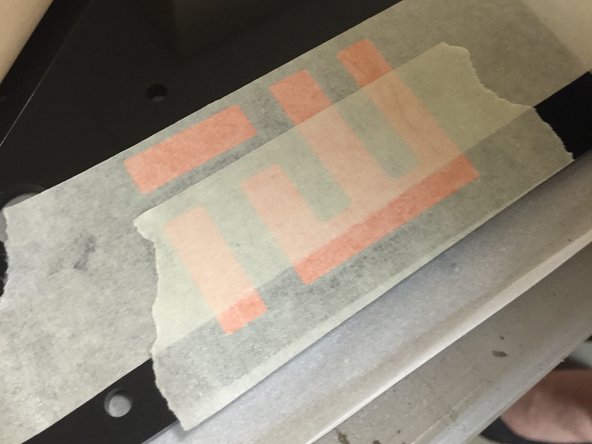
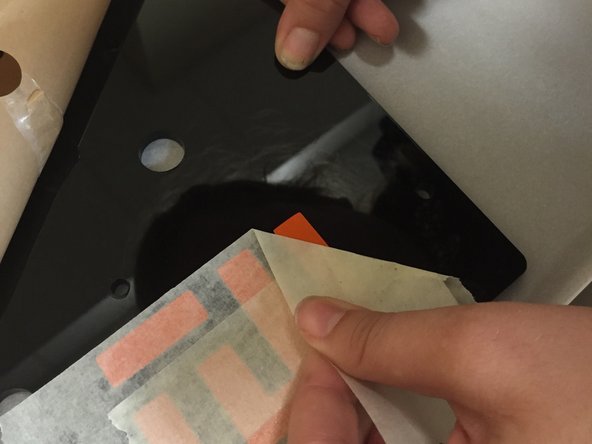
Locate the Tin Whiskers Technology vinyl sticker in your kit. Cover the sticker with regular masking tape.
-
-
-
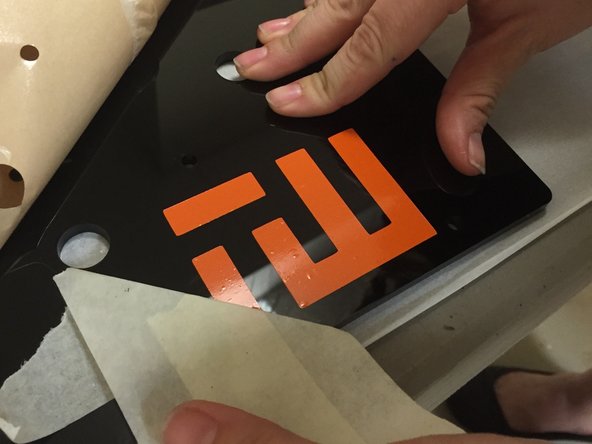
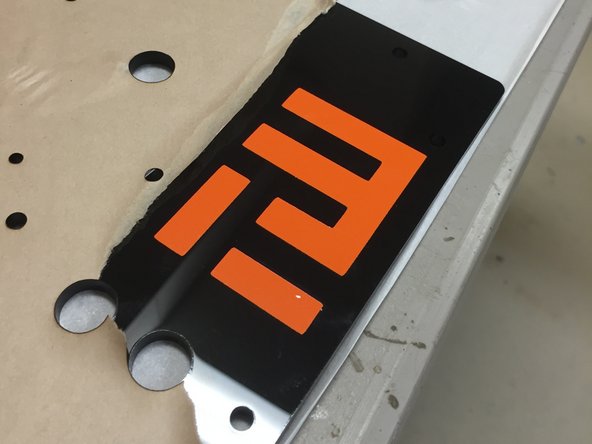
Remove the adhesive backing (carefully, as to not disturb the vinyl), and place the sticker on the lower right corner of the top plate. Locate it away from any screws or other things attached to the plate.
-
-
-
Use your fingernail or a coin to rub the sticker, and try not to create any trapped air bubbles.
-
-
-
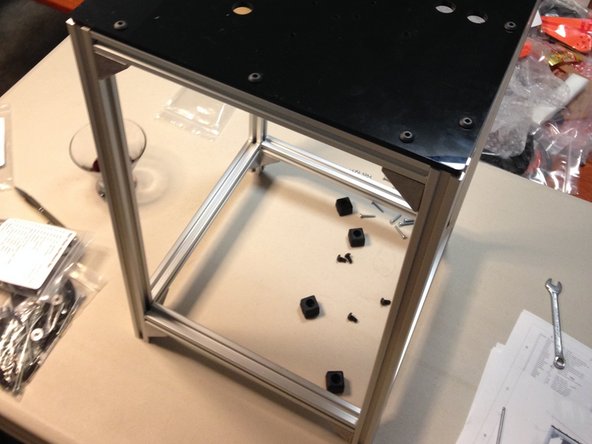
Space the bottom horizontal extrusions at 50mm from the bottom vertical extrusion.
-
Using a digital caliper is the preferred way to space these. In a pinch, a tape measure may be used, just take care to make sure that all sides are as close as possible to 50mm.
-
For those of us living in the United States or Liberia, that's 1.96 inches
-
Please don't get creative and change the spacing from the required 50mm. This will have detrimental effects on the delta kinematic geometry.
-
-
-
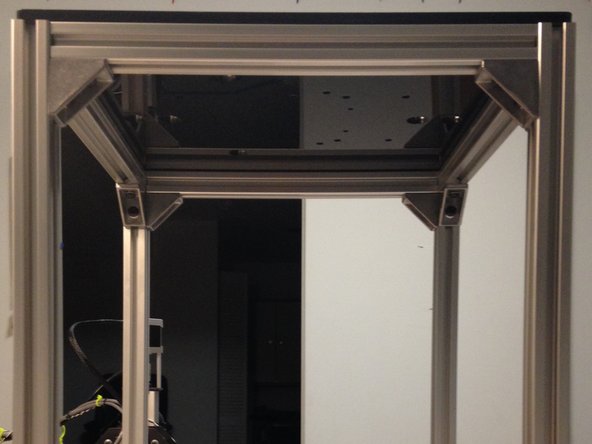
When the frame is done, it should look like this:
-
Next, we recommend that you begin assembling the delta mechanism. The recommended build order is listed here: http://firepickdelta.dozuki.com/Guide#Se...
-


Cancel: I did not complete this guide.
7 other people completed this guide.

3 Comments
Step 6 has a picture of #12, 3/4" pan head screws but the description says to use #12, 1/2". I used 3/4" and they worked but I would try the 1/2" if I were to do it again. They seem to have plenty of bite so the shorter ones aren't as much manual labor:)
NothingButGunpowder - Resolved on Release Reply
Steps 4 and 11 seem like the same step. I am confused as to why they are distinct, and why the extrusion nut counts don't appear before step 4.
Charles Steinkuehler - Resolved on Release Reply
It looks like the top acrylic plate is supposed to be attached, but there is no step describing this.
Charles Steinkuehler - Resolved on Release Reply