
-
-
In this guide, we will:
-
Download and install Eclipse IDE
-
Download the OpenPnP source code from Github
-
Import the OpenPnP Maven project into Eclipse, and configure the project.
-
Run OpenPnP for the first time
-
Note: machine configuration and running SMT jobs will be covered in other guides.
-
-
-
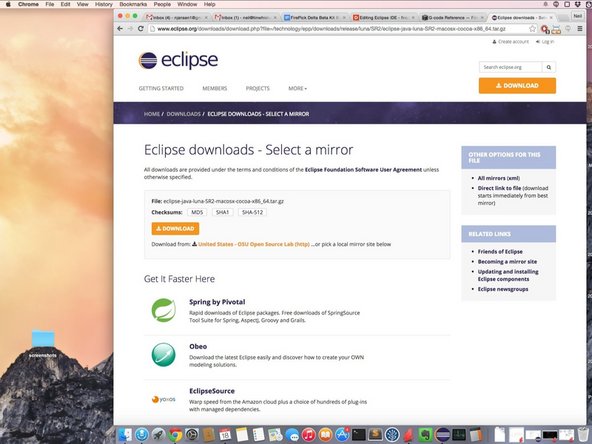
Head to: http://eclipse.org/downloads/
-
It should auto-detect your OS. You might have to select 32-bit or 64-bit.
-
Under “Eclipse IDE for Java Developers”, click the appropriate download link.
-
-
-
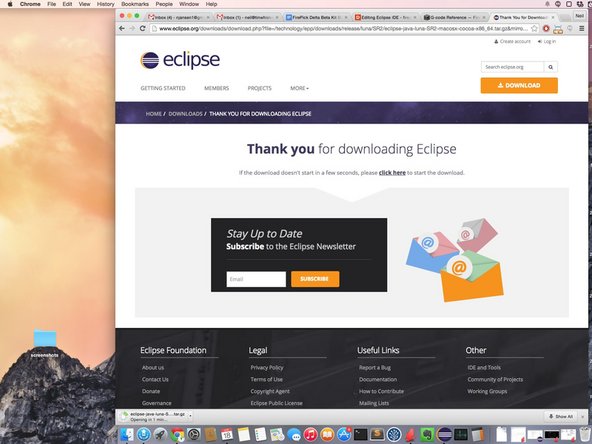
Note: Eclipse doesn't come with an installer.
-
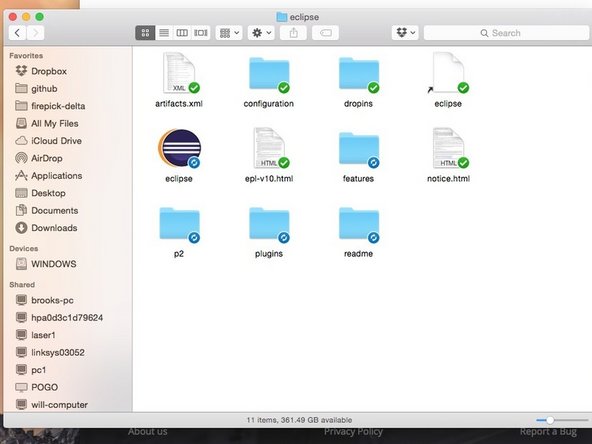
Instead, when the download completes, and the download is unzipped, you'll end up with a bunch of files and folders, including an Eclipse executable.
-
Place these files and folders somewhere safe, like C:\projects\eclipse or /home/username/eclipse
-
-
-
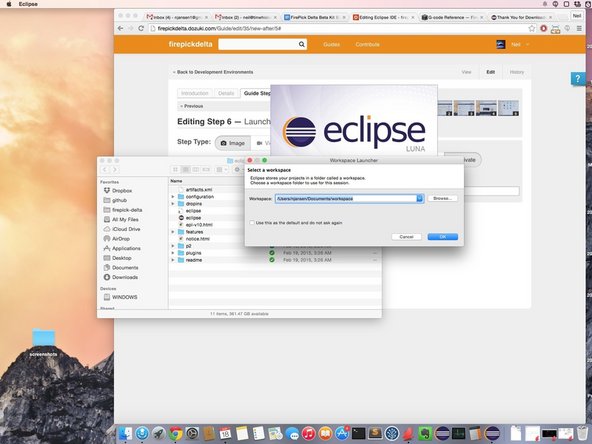
Launch Eclipse.
-
Eclipse will ask you to select a workspace. Select the default unless you want to put it somewhere else.
-
-
-
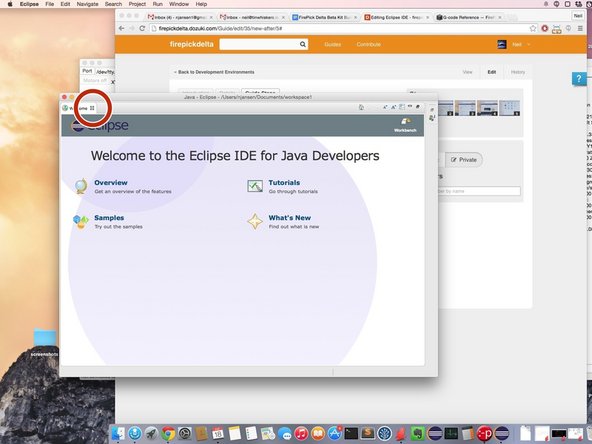
Eclipse will throw up this stupid welcome screen, that hides the entire IDE window, making it confusing for some new users. Close it.
-
Click the 'x' in the tab bar (circled in RED in the picture to the left).
-
-
-
At this point, we'll minimize the Eclipse IDE and download OpenPnP.
-
Head over to the OpenPnP Github repository
-
Highlighted in orange, is the HTTPS clone URL. With this URL, you can clone the repo using your favorite Github client. This is the recommended way of cloning OpenPnP.
-
Highlighted in yellow, is the Download ZIP button. This will allow you to download a snapshot of the repo. This is NOT recommended, because it will make it difficult to pull in new changes as the repo is updated. It will, however work in a pinch if you're in a hurry and don't care about having the latest and greatest code.
-
-
-
I'll use Atlassian SourceTree for this demonstration.
-
We will cover doing this from the commandline in the next step. You can use either of these, or your favorite Git client.
-
Download and install Atlassian SourceTree. NOTE: It will ask for you to create a login.
-
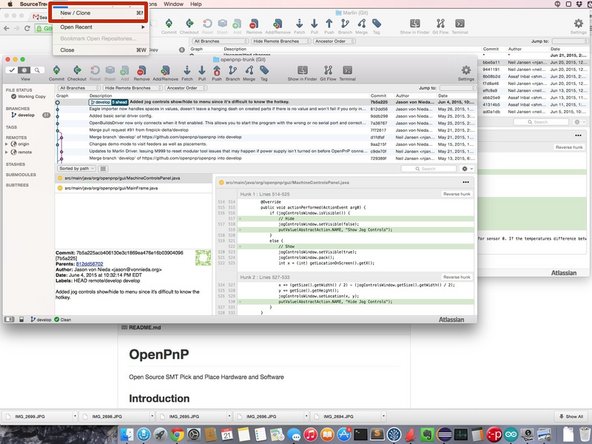
Open SourceTree and click File -> New / Clone
-
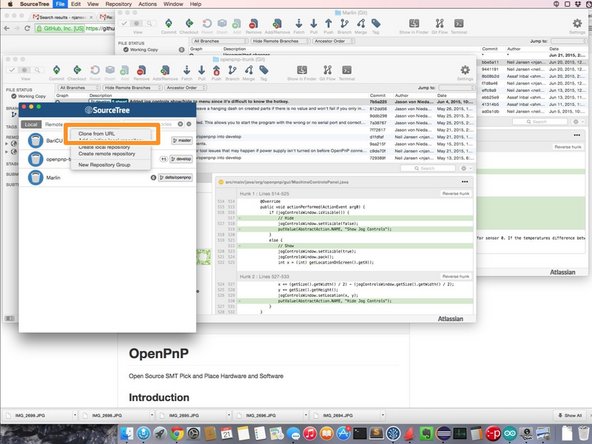
Click Clone from URL
-
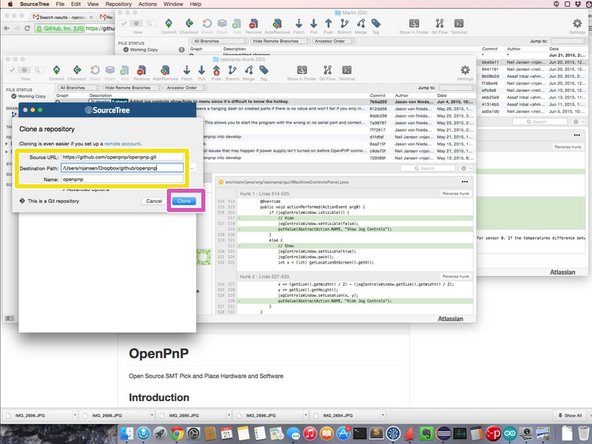
Paste the URL, and select a destination path.
-
Hit Clone. This will clone the repo onto your local PC, into the path that you selected.
-
-
-
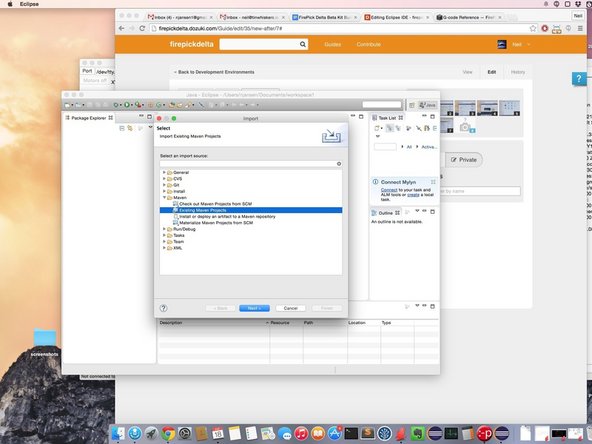
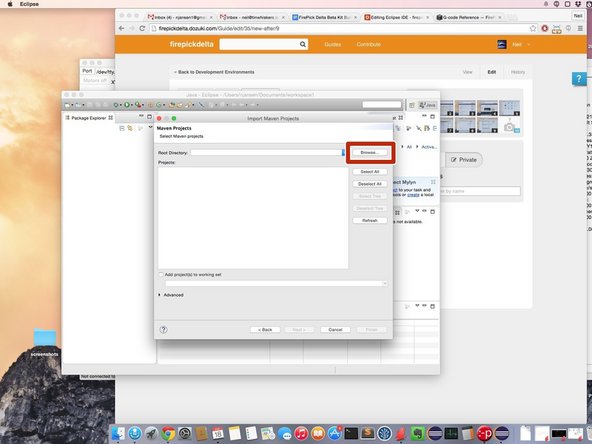
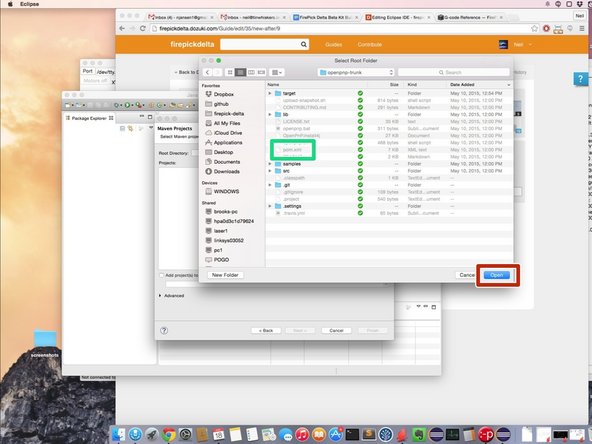
Navigate to the directory that contains OpenPnP (or whatever other project you're trying to import)
-
There should be a 'pom.xml' in the folder that you are trying to select.
-
Click 'Open'
-
-
-
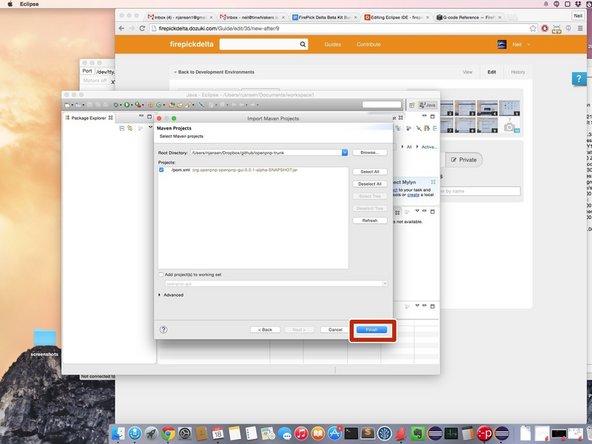
Click Finish.
-
Eclipse will now import the Maven project. This shouldn't take long.
-
-
-
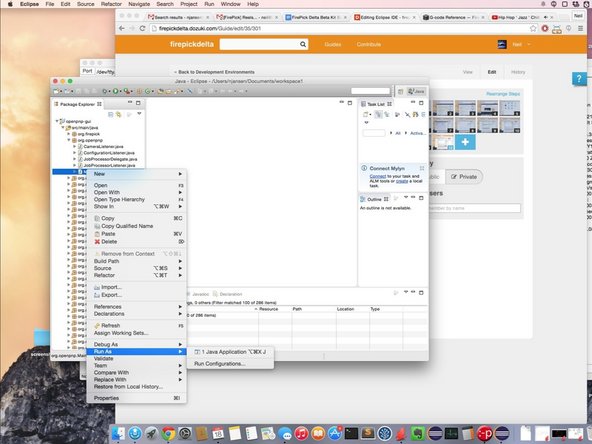
Find 'Main.java' inside of the org.openpnp java package (that is located in src/main/java).
-
Right click on 'Main.java', and click 'Run As -> Java Application'
-
-
-
NOTE: This step is for Windows users only. Mac and Linux users can skip this step.
-
Specify the native library path to OpenCV. Right click Main.java>Run As>Run Configurations Under the tab ‘Arguments’ in the section ‘VM Arguments’, add:
-
-Djava.library.path=lib\native\windows\x64 for Win64, or:
-
-Djava.library.path=lib\native\windows\x86 for Win32.
-
Make sure to separate with a space if you are adding to existing arguments.
-
-
-
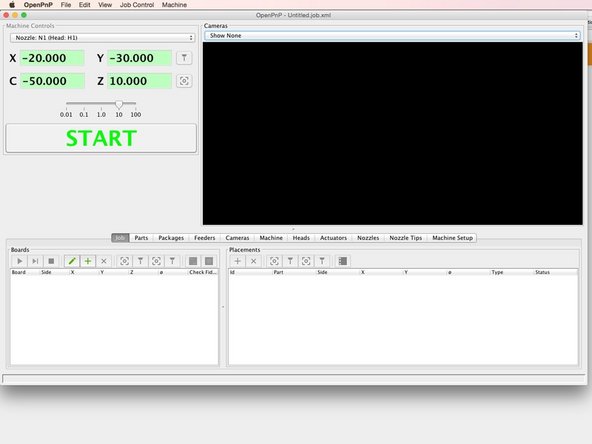
At this point, OpenPnP should start. At this point, it is not configured to work with a FirePick Delta. You can play around with the interface, but it won't do PnP until you've configured it to use the camera(s) and the motion controller, at a minimum.
-
It is recommended at this point to configure your machine.xml so that OpenPnP can see your hardware.
-


Cancel: I did not complete this guide.
5 other people completed this guide.
