
-
-
OpenPnP uses a machine.xml file to understand the configuration of your pick-and-place machine.
-
Most here will know what XML is and what it is used for. For those that don't, XML is a human-readable and machine-readable markup language, that uses a hierarchical nested tag structure, with elements and attributes. More information can be found here: XML on Wikipedia
-
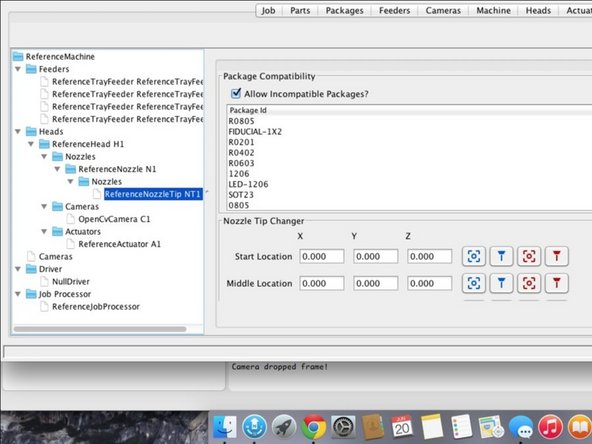
Looking at the second picture in this step, you will see that the XML nodes map hierarchically to the various pieces of the machine.
-
-
-
Each of the nodes present on the Machine.xml will call out a Java module that defines the low-level behavior of the machine.
-
For example, a camera node might call out any of (but not limited to) the following:
-
<camera class="org.openpnp.machine.reference.camera.OpenCvCamera" id="d66faf53-05e1-4629-baae-b614c5ed8320" name="C1" looking="Down" rotation="93.0" device-index="1">
-
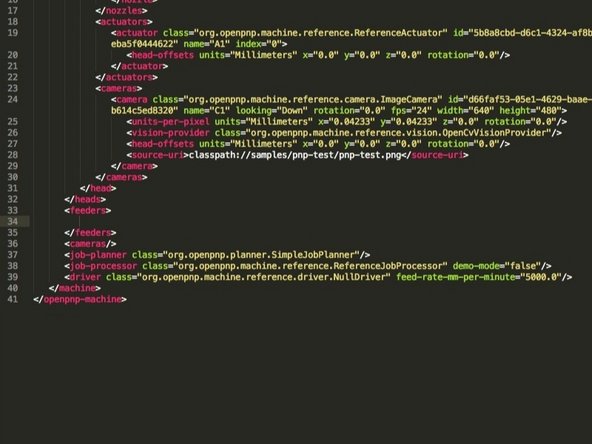
<camera class="org.openpnp.machine.reference.camera.ImageCamera" id="d66faf53-05e1-4629-baae-b614c5ed8320" name="C1" looking="Down" rotation="0.0" fps="24" width="640" height="480">
-
In the first example, the camera node calls out a camera driver that uses the OpenCV camera capture framework to capture an image. The second example calls out a driver that just displays a static image.
-
Regardless of which camera module or driver module or feeder module is picked, the interface to the driver is the same. Only the lower-level functionality will be changed. For example, all motion control drivers can go to a position, pick, place, connect, disconnect, etc.
-
Each class might have unique attributes or parameters that configure behavior. For example, width/height/rotation for a camera. Or COM port and baud for a motion control driver.
-
Use the image to the left to familiarize yourself with the various common OpenPnP modules, and how they hierarchically fit together.
-
-
-
Some features of the machine.xml can be configured right from OpenPnP. For example, feeders and nozzles can be configured this way.
-
Other features cannot be configured from OpenPnP at this time. They must be entered manually. We will see how to do this in the next step.
-
-
-
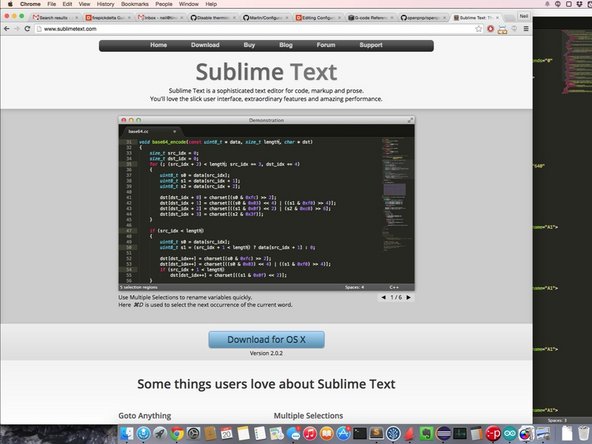
Make sure you've installed a good text editor that supports syntax highlighting. This is extremely helpful in guarding against syntax errors.
-
We recommend Sublime Text Editor 2. Although it's a paid/proprietary editor, it only nags occasionally in a non-obtrusive manner. It's worth the money and I've personally paid for a copy. There are other free options out there, but I don't care for any of them.
-
-
-
We'll start out with the stock machine.xml and edit everything from there.
-
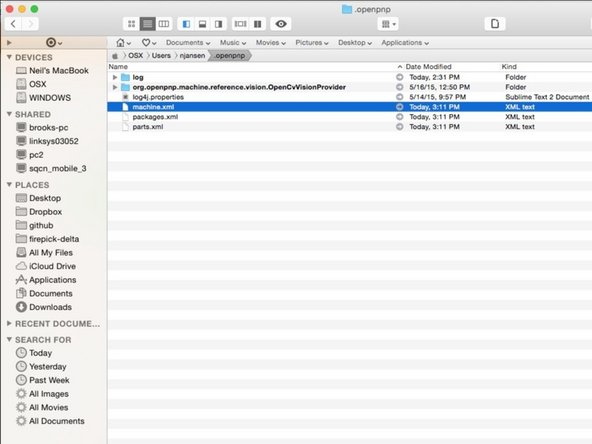
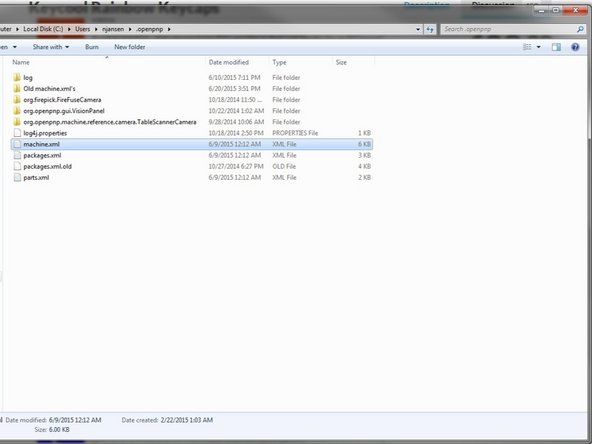
After you start OpenPnP for the first time, it will create a default copy of Machine.xml in the following directory:
-
Linux: /home/username/.openpnp/
-
Mac OSX: /users/username/.openpnp/
-
Windows: C:\users\username\.openpnp\
-
Open this file in your favorite text editor.
-
NOTE: The .openpnp directory may be hidden. You may have to find the setting to show hidden files, in your file manager.
-
REQUEST: If you've got OpenPnP on Linux, please email us a screenshot of the .openpnp folder with the machine.xml file highlighted.. we'd like to post it alongside the Mac and Windows screenshots. Please send to hello@tinwhiskers.io
-
-
-
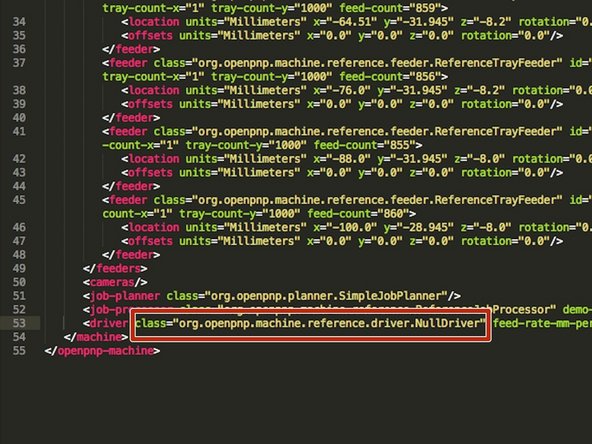
In this step, we'll change the motion controller from the NullDriver to the FireStepDriver so that we can communicate with our EMC02. Note: At this point, we do not recommend using Marlin for PnP! Use FireStep or Smoothie instead!
-
Find the line that contains: <driver class="org.openpnp.machine.reference.driver.NullDriver" feed-rate-mm-per-minute="5000.0"/>
-
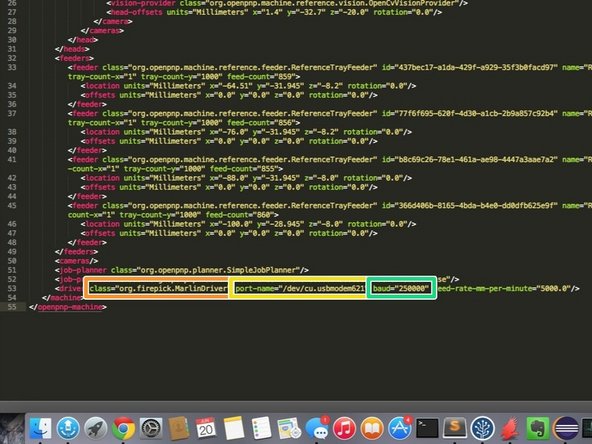
Change the class attribute to "org.firepick.driver.FireStepDriver"
-
Add the following attributes:
-
port-name="YourComPortHere"
-
baud="19200"
-
NOTE: Change "YourComPortHere" to the COM port in which your Arduino shows up as. For example, on my Mac, it shows up as "/dev/cu.usbmodem621", and on my Windows PC, it shows us as "COM8" ..
-
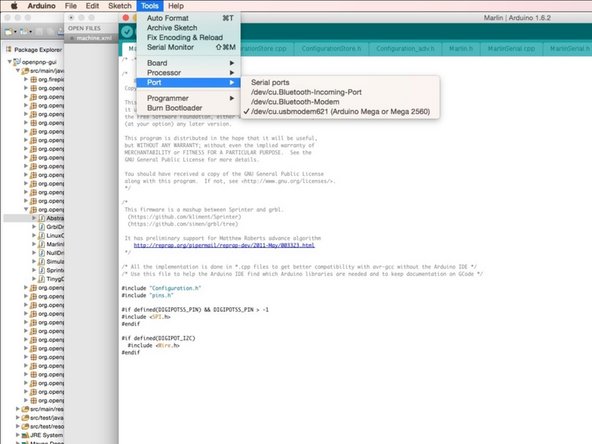
An easy way of finding the COM port is to use the Arduino IDE, as shown. You will find the COM port of your Arduino under Tools -> Port -> Serial Ports
-
-
-
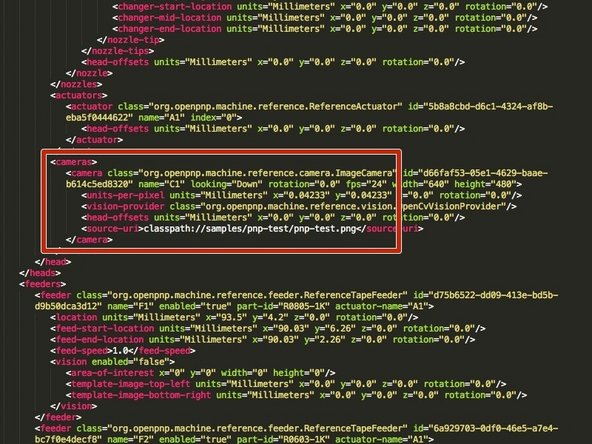
Find the<cameras> node <cameras> node under the <head> node. The default config should have one <camera> node listed under the <cameras> node.
-
Multiple cameras are allowed here, but we'll only be modifying the one default camera.
-
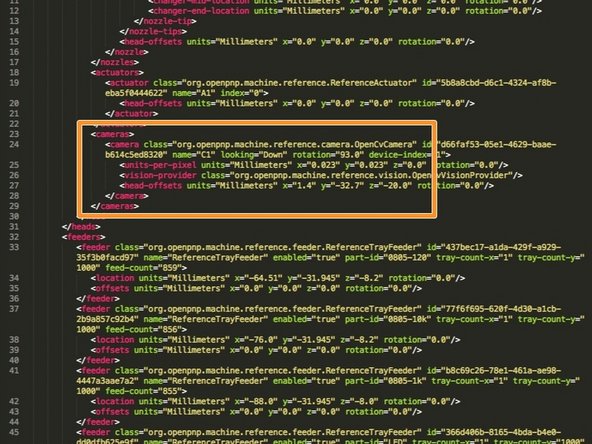
Modify the element as shown in the second image on this step.
-
Change the class to "org.openpnp.machine.reference.camera.OpenCvCamera"
-
Change the rotation to rotation="90.0" (NOTE: You may need to add or subtract a few degrees of rotation if your camera is slightly rotated.
-
Add an attribute device-index="0". You should change the device-index number to the one that matches your downward-looking camera. This might take a bit of trial and error if you have multiple cameras.
-
Locate the <head-offsets> sub-element, and change the offset attributes to x="0" y="-32.0" z="-20.0" (NOTE: these might get adjusted slightly later, but they'll work for now)
-
Locate the <units-per-pixel> sub-element, and change the attributes to x="0.023" y="0.023" z="0.0"
-
-
-
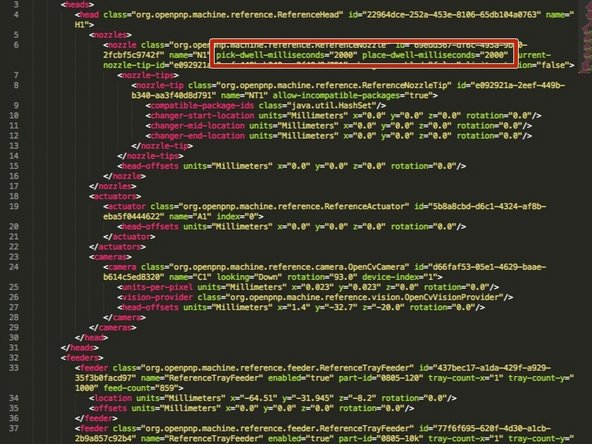
Find the <nozzles> element under the <head> element. Locate the <nozzle> under the <nozzles>.
-
Look for two attributes called pick-dwell-milliseconds="0" and place-dwell-milliseconds="0"
-
Change these values to "1000". This is a safe value for now that will provide enough time for the vacuum to start and stop.
-
This value will be tuned and tweaked later, but these are a safe starting point.
-
-
-
TBD. This code is still being integrated. ETA is 1-3 weeks, hopefully.
-
If you would like to jump in and try this code now, there is an OpenPnP branch in Jason's official openpnp repo for testing and integrating the up-looking camera.
-
-
-
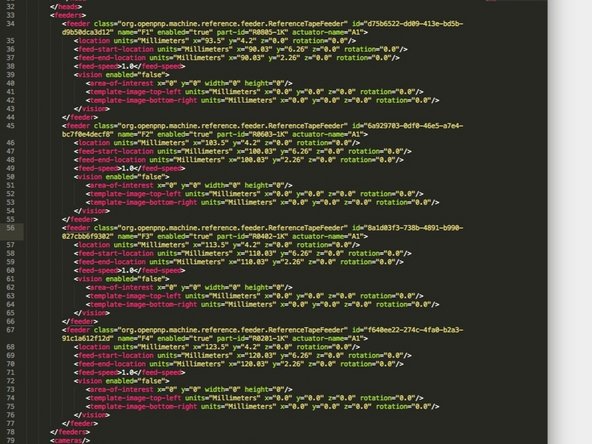
Delete all of the "org.openpnp.machine.reference.feeder.ReferenceTapeFeeder" elements under the <feeders> element. We'll be adding in cut tape feeders using the GUI.
-
-
-
Now Start OpenPnP back up. If your camera and EMC02 motion controller are plugged in, you should see the camera image and be able to control your machine.
-
If your camera image doesn't show up, first check your connections. Then, you may have to adjust your device-index attribute. I changed mine from "1" to "2", as I have a webcam on my MacBook (ID 0) and a webcam on my Cinema Display (ID 1).
-
If you've commissioned your machine and have the ATX power supply switched on, you should be able to press the "START" button and hear the machine energize and see the right lights light up.
-
Ctrl+Tab will bring up the jog panel; from there, you should be able to jog the machine around.. just make sure to home the machine before you move it around, and set the movement increment from '0.1' to '10'
-
-
-
Just a quick demo video of what you should have at this point:
-
http://youtu.be/8_V-Ttu80JI NOTE: Need to replace this with a version that shows using FireStep
-
This video shows the motion controller and cameras configured, and shows homing, XYZ movement, nozzle rotation, and pick/place commands.
-


Cancel: I did not complete this guide.
3 other people completed this guide.
